Adding Givebutter DNS records to the Google Admin Portal is essential for ensuring that your domain can integrate seamlessly with Givebutter’s features. Whether you’re managing email deliverability, event registration, or fundraising campaigns, properly configured DNS settings are the backbone of a successful online experience. In this guide, we’ll walk you through each step of the process, providing tips and troubleshooting advice along the way.
What is DNS and Why It Matters?
DNS, or Domain Name System, acts like the phonebook of the internet. It translates human-friendly domain names (like example.com) into IP addresses that computers understand. For platforms like Givebutter, DNS records help route emails, verify ownership, and ensure seamless functionality.
Without proper DNS configuration, your domain might experience email issues, functionality disruptions, or failed integrations.
What is Givebutter?
Givebutter is a powerful platform for fundraising, event management, and donor engagement. Nonprofits, schools, and individuals rely on its tools to create impactful campaigns. Connecting Givebutter to your domain through DNS settings enhances its functionality, especially for custom email sending and domain verification.
Preparing for the Integration
Before starting, ensure you have:
- Admin access to your Google Admin Portal.
- DNS record information from Givebutter.
- The login credentials for your domain registrar (if applicable).
Once you’ve gathered the necessary information, proceed to the Google Admin Portal.
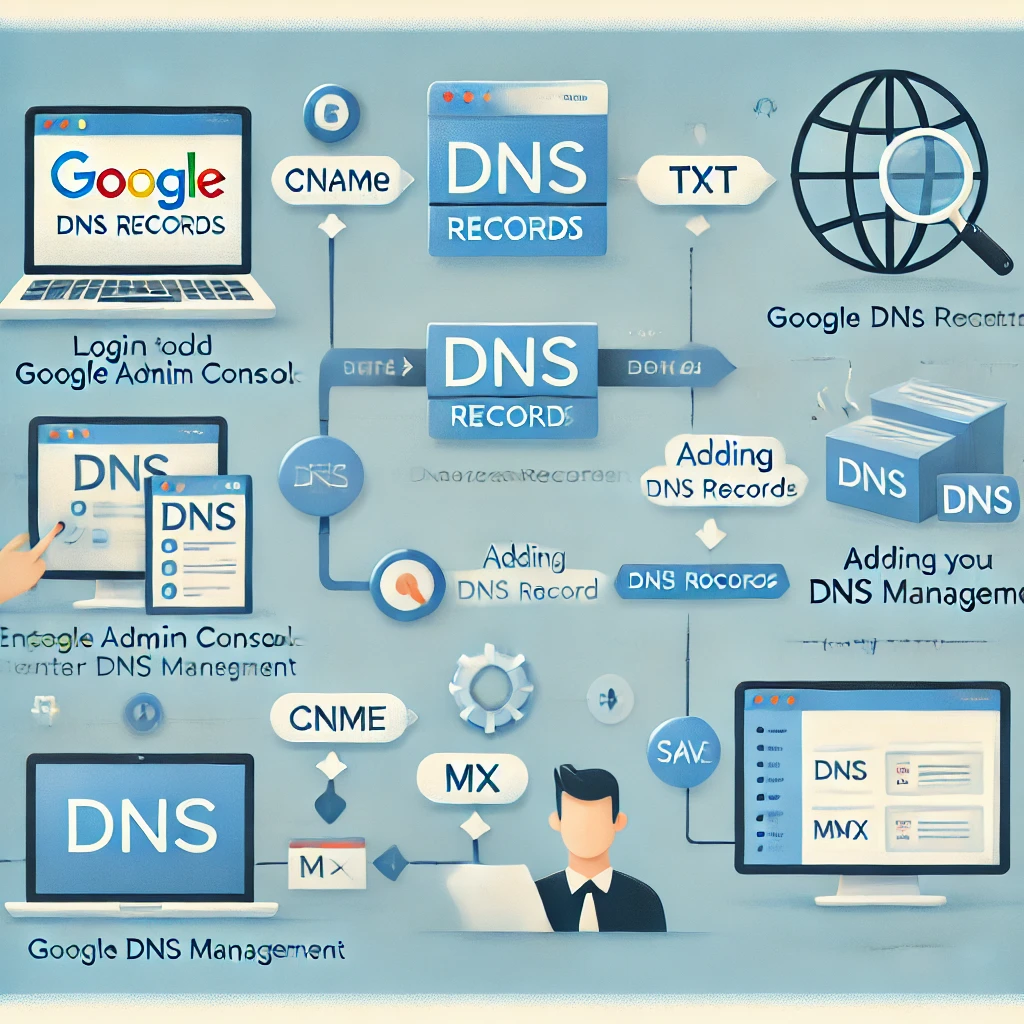
Accessing Google Admin Portal
- Log in to Google Admin Console.
- Navigate to Domains > Manage Domains.
- Select the domain where you want to add Givebutter’s DNS records.
Understanding Google Admin’s DNS Management
In the Google Admin Portal, you’ll manage your domain’s DNS records. These settings allow you to:
- Verify domain ownership.
- Configure email routing.
- Integrate third-party platforms like Givebutter.
Finding Your Domain in Google Admin
- Go to the Domains section in the Google Admin Console.
- Locate your domain in the list.
- If you don’t see your domain, ensure it’s registered and linked to your Google Workspace account.
Adding DNS Records in Google Admin
To add DNS records:
- Open the DNS management page for your domain.
- Click on Add a New Record.
- Input the record type (e.g., TXT, CNAME, MX).
- Enter the values provided by Givebutter.
- Save the changes.
Common Givebutter DNS Records
Typical DNS records required by Givebutter include:
- CNAME: Used for domain verification.
- TXT: Often for email sending verification (SPF or DKIM).
- MX: For mail routing.
- A Records: Pointing the domain to Givebutter’s servers.
Validating Your DNS Changes
After adding records:
- Use Google Admin’s DNS checker tool to confirm changes.
- Alternatively, use third-party tools like MXToolbox to validate.
- Allow up to 48 hours for propagation.
Troubleshooting DNS Integration Issues
If you encounter issues:
- Double-check the records for typos.
- Ensure there are no conflicting DNS entries.
- Contact Givebutter or Google support for advanced help.
Best Practices for DNS Integration
- Backup Existing Records: Save your current DNS configuration before making changes.
- Monitor Changes: Use DNS monitoring tools to track updates.
- Secure Access: Limit who can edit DNS settings to prevent unauthorized changes.
Benefits of Adding Givebutter DNS to Google Admin
Properly integrating Givebutter DNS records:
- Improves email deliverability rates.
- Ensures seamless functionality for fundraising campaigns.
- Provides better domain control and customization.
Advanced Tips for DNS Management
- Use Automation: Tools like Terraform can automate DNS updates.
- Monitor DNS Health: Services like Pingdom help track DNS performance.
Conclusion
Integrating Givebutter DNS with Google Admin Portal is a straightforward but essential step for maximizing your domain’s functionality. With proper configuration, you can unlock the full potential of Givebutter’s tools while maintaining a professional and reliable online presence.
FAQs
1. How long does it take for DNS changes to propagate?
Typically, DNS changes take 24-48 hours to fully propagate, though it can vary based on your DNS provider.
2. What happens if I make a mistake in DNS records?
Errors can lead to email or platform issues. Always double-check entries and back up your original settings.
3. Can I use Givebutter with other DNS providers?
Yes, Givebutter can integrate with most DNS providers. Ensure you follow their specific setup guidelines.
4. Is it safe to share DNS records with Givebutter?
Yes, as long as you only share the necessary records and follow security best practices.
5. Who can I contact for support with Givebutter DNS?
Reach out to Givebutter’s support team or consult Google Admin’s help center for assistance.


